Hello commanders,
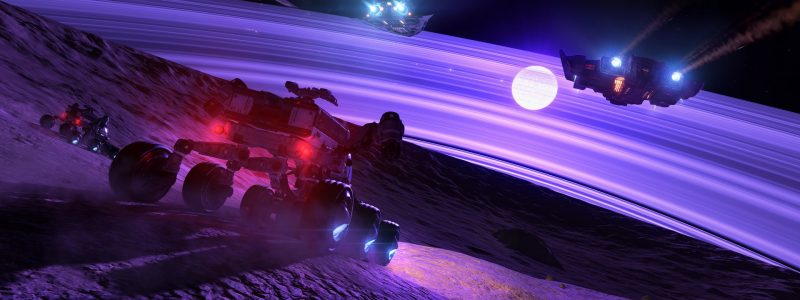
A few days ago a fellow commander asked me, since she saw some of my screenshots, how my game looked so smooth. We know Odyssey's anti-aliasing have been dreadful since its release and how it also plagues screenshots:
So i shared with her one of many great tips CMDR Richard Fluiraniz (u/umbraherba) taught me. We all know that taking screenshots is one of the main activities of this game, specially for those of you who are passionate for exploration like me, right?
ED has a high resolution screenshot mode (alt+F10) that will take flawless screenshots at the cost of gigantic-sized bmp files (90~100MBs). These screenshots wont suffer of jagged lines but storing such behemoths are not space-effective let alone share it with your friends on INARA, Twitter, Reddit, Discord etc.
The catch here is, those images have also gigantic resolution sizes. In my case, a 1080p image has 7680×4320 resolution.
You can always change its format, i like to use PNG, but if you keep the original resolution the size will still be big (~50MBs). What you need to do is resize it down to 1920×1080 (or the initial resolution you play):
You can do it in paint or your favorite picture editor software. Yet, it's not practical to keep converting them manually everytime you take a screenshot.
That's where comes into play.
EDDiscovery is a 3rd party tool that can track your Elite Dangerous travels, combat, trading, rank etc, send this data to INARA, EDSM, Canonn etc just like EDMC. It's a very powerful tool that i honestly can't play without anymore. It's my right exploration arm. A few examples of its amazing features are showing system information data, history of jumps, route planning, bookmark management, mining helper, expedition planer and screenshot conversion.
Many of you probably already use it, but those who doesn't, you should give it a try. We'll be using it to automatically convert and resize our screenshots.
I won't go through the installation steps, because the team has already provided explaining each feature. You can also ask their help or give feedback in their too.
It is simple to set it up. Go to Settings -> Screenshots Conversion -> Enable it and click 'Configure'. A new window will open. There you can set the folder where the original screenshots are, where you want the converted ones to be and how you want to resize them:
You can also automatically delete the original ones and set the date-time-system in the image filename. I find it very very helpful!
Now all you have to do is alt+F10 the heck out of the galaxy. All files will be automatically converted and resized in the folder you defined, at the same cost of regular (jagged) screenshots.
Here's a better look at the differences:
I hope this helps you to get even better pictures of our galaxy! Now you're one step closer to win #stellarscreenshots too! Show everyone your talent and adventures with efficient, high quality shots!
o7


